👇Replace it with the code below 👇
<b:if cond='data:blog.pageType != "static_page"'>
<b:if cond='data:blog.pageType != "item"'>
<div expr:id='"summary" + data:post.id'><data:post.body/></div>
<script type='text/javascript'>createSummaryAndThumb("summary<data:post.id/>","<data:post.url/>","<data:post.title/>");</script>
<span class='readmore' style='float:right;'><a expr:href='data:post.url'>Read More »</a></span></b:if></b:if>
<b:if cond='data:blog.pageType == "item"'><data:post.body/></b:if>
<b:if cond='data:blog.pageType == "static_page"'><data:post.body/></b:if>
In the AWESOME INC theme for Blogger that I am using, I only had to change only two of the <data:post.body/>
The other themes may require changing all three <data:post.body/>. Keep this in mind!
Very Important to add the last piece of code shown below to your theme. Right above the <head> tag.
<script type='text/javascript'>
posts_no_thumb_sum = 490;
posts_thumb_sum = 400;
img_thumb_height = 160;
img_thumb_width = 180;
</script>
<script type='text/javascript'>
//<![CDATA[
function removeHtmlTag(strx,chop){
if(strx.indexOf("<")!=-1)
{
var s = strx.split("<");
for(var i=0;i<s.length;i++){
if(s[i].indexOf(">")!=-1){
s[i] = s[i].substring(s[i].indexOf(">")+1,s[i].length);
}
}
strx = s.join("");
}
chop = (chop < strx.length-1) ? chop : strx.length-2;
while(strx.charAt(chop-1)!=' ' && strx.indexOf(' ',chop)!=-1) chop++;
strx = strx.substring(0,chop-1);
return strx+'...';
}
function createSummaryAndThumb(pID, pURL, pTITLE){
var div = document.getElementById(pID);
var imgtag = "";
var img = div.getElementsByTagName("img");
var summ = posts_no_thumb_sum;
if(img.length>=1) {
imgtag = '<span class="posts-thumb" style="float:left; margin-right: 10px;"><a href="'+ pURL +'" title="'+ pTITLE+'"><img src="'+img[0].src+'" width="'+img_thumb_width+'px" height="'+img_thumb_height+'px" /></a></span>';
summ = posts_thumb_sum;
}
var summary = imgtag + '<div>' + removeHtmlTag(div.innerHTML,summ) + '</div>';
div.innerHTML = summary;
}
//]]>
</script>
<b:if cond='data:blog.pageType != "static_page"'>
<b:if cond='data:blog.pageType != "item"'>
<style type='text/css'>
.post-footer {display: none;}
.post {margin-bottom: 10px; border-bottom: 1px dotted #E6E6E6; padding-bottom: 20px;}
.readmore a {text-decoration: none; }
</style>
</b:if>
</b:if>
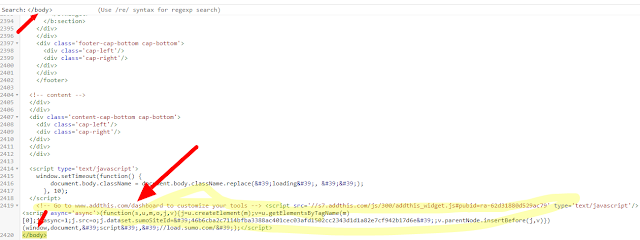
BLOGGER DASHBOARD
BLOGGER THEME HTML
I hope you found this helpful? Thank you for visiting!


.png "Blogger Blog Spot!")


.png "How To Add Read More To Each Of Your Blog Posts Automatically On Blogger BlogSpot")


