
How To Connect Squarespace Domain To Blogger Blogspot 2026
👀 After hours of searching online for how to connect the Squarespace domain to the Blogger Blogspot, it dawned on me that I could see how I had connected my older blogs to Squarespace. "HELLO." Lol 🤣.
Previously, I was using Google Domains, but their services are no longer available, so Google migrated the domains to Squarespace.
To easily connect your custom domain from Squarespace to Blogger, follow the steps below.
👉 First, open the Blogger Blogspot dashboard. Scroll down to settings, click on settings, scroll down until you see PUBLISHING, click on CUSTOM DOMAIN, and hold it right there.

👉 Second, open a new tab on your browser and go to SQUARESPACE, where you purchased your custom domain for Blogger Blogspot, right-click & copy your custom domain, and take it over the Blogger dashboard custom domain, and right-click and paste the custom domain in Blogger.
It will display an error message, a red text prompt to add www to your Blogger custom domain area, and save it once you have added the www. View the images below 👇.


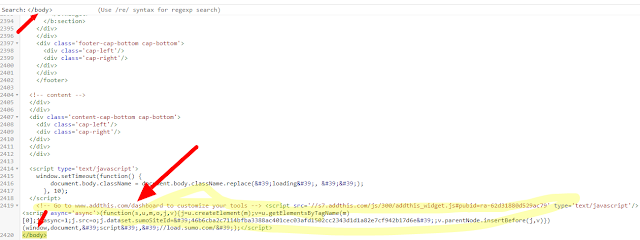
👉 Third, then, in the Blogger custom domain area, it will give you another red text like the picture described below 👇👇👇and hold it right there. Go to Squarespace. The text circled & squared is the code you will need to add to Squarespace as a custom record. Remember, this is my code. You will get your own unique code in Blogger. This is an example. Log in to Squarespace here.

👉 Fourth, go to Dashboard Squarespace and click on DOMAIN, click on DNS, you will see ADD PRESET until you see ADD RECORD, and this is where you will add the highlighted code from Blogger. Remember, this is my code; I am just showing you as an example here.

👉 Fifth, to ADD RECORD in Squarespace, click on TYPE and choose CNAME. Right next to TYPE is NAME, and put this >>> _domainconnect in DATA, and put this >>> _domainconnect.domains.squarespace.com. As shown in the pic above 👆. This code you may use is universal.
👉 Sixth, you are going to add another ADD RECORD in Squarespace, click on TYPE and choose CNAME, right next to TYPE is NAME, you put www, and in DATA, you add your custom domain, and this code right after it >>> .ghs.googlehosted.com

👉 Last step: click on ADD RECORD in Squarespace, click on TYPE, and choose CNAME. Right next to type is NAME, and put the code that the Blogger gave you is illustrated in the pic above. The code illustrated is mine, it's just an example... And in DATA, you add the second code Blogger gave you... Read, read, and follow the steps...
Give Blogger and Squarespace to connect the custom domain you purchased for about 10 - 20 minutes, and then refresh your website and walaaa...
Any questions, leave comments in the comments section. I will be more than happy to help!
Thank you for visiting,


.png "Blogger Blog Spot!")


.png "How To Add Read More To Each Of Your Blog Posts Automatically On Blogger BlogSpot")


